Canvas Wall Art Cleaning Tips: Essential Methods to Preserve Your Artwork Without Damage
Share
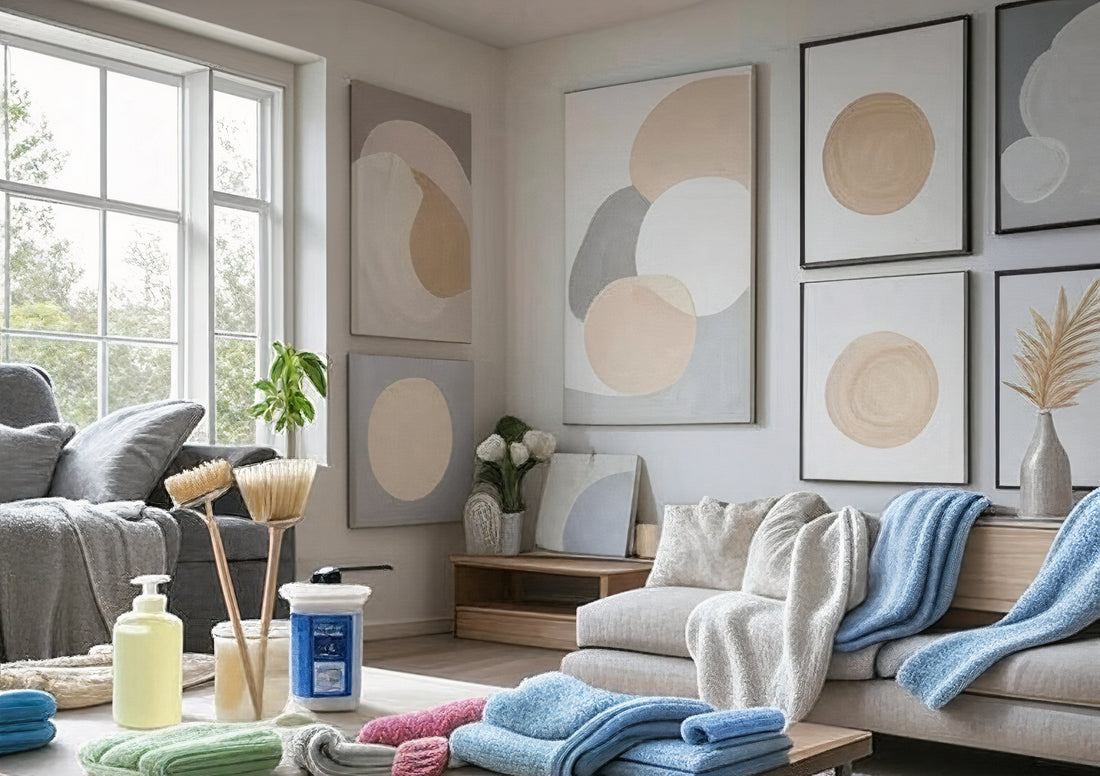
Canvas wall art adds beauty and personality to your home, but dust, moisture, and environmental factors can dull its vibrancy over time. Regular cleaning is essential to maintain your artwork's appearance and protect your investment.
Proper cleaning techniques using gentle materials like microfiber cloths and mild soap solutions can effectively remove buildup without damaging the canvas surface. The key is understanding which supplies to use and following the correct methods to avoid permanent damage to your artwork.
You can extend the life of your canvas prints significantly with the right cleaning approach and preventive care measures. This guide will walk you through everything you need to know about safely maintaining your canvas wall art.
Key Takeaways
- Use gentle cleaning supplies like microfiber cloths and mild soap solutions to avoid damaging canvas surfaces
- Follow proper step-by-step cleaning methods that start with dusting and progress to gentle wiping techniques
- Implement preservation strategies during and after cleaning to protect your artwork from future damage
Essential Canvas Wall Art Cleaning Supplies
Having the right cleaning supplies prevents damage and maintains your artwork's appearance. Safe products and proper tools make the difference between successful cleaning and permanent harm to your canvas prints.
Choosing Safe Cleaning Products
Distilled water serves as your primary cleaning solution. It contains no minerals that could leave residue or stains on your canvas surface.
Mild dish soap mixed with distilled water creates an effective cleaning solution. Use only a few drops per cup of water to avoid oversaturation.
pH-neutral cleaners specifically designed for artwork offer another safe option. These products won't react with canvas materials or printing inks.
Avoid cleaning products with ammonia, bleach, or alcohol. These chemicals can fade colors and damage canvas fibers permanently.
Test any cleaning solution on a small, hidden area first. Wait 24 hours to ensure no discoloration or damage occurs before cleaning the entire piece.
Recommended Cleaning Tools
Microfiber cloths provide the gentlest cleaning surface. Their fine fibers lift dust without scratching or leaving lint behind.
Soft-bristled brushes work well for textured canvas surfaces. Use clean paintbrushes or makeup brushes to reach into crevices.
Cotton swabs allow precise cleaning around detailed areas. They absorb moisture while providing controlled pressure on small spots.
| Tool | Best Use | Technique |
|---|---|---|
| Microfiber cloth | General cleaning | Light, circular motions |
| Soft brush | Textured surfaces | Gentle brushing strokes |
| Cotton swabs | Detail work | Dabbing motions |
Keep cleaning tools separate from household items. Dedicate specific cloths and brushes solely for artwork cleaning to prevent cross-contamination.
Materials to Avoid
Paper towels contain wood fibers that can scratch canvas surfaces. They also leave lint and residue that attracts more dirt.
Harsh chemicals like window cleaners, all-purpose cleaners, and furniture polish damage canvas materials. These products contain solvents that dissolve printing inks.
Abrasive materials such as scouring pads, steel wool, or stiff brushes tear canvas fibers. Even light pressure with these materials causes permanent damage.
Excessive water can warp canvas and cause colors to run. Never soak your cleaning cloth or spray water directly onto the artwork.
Vacuum cleaners with brush attachments seem convenient but create too much suction. The strong airflow can pull loose canvas fibers or damage the surface texture.
Step-by-Step Cleaning Methods for Canvas Wall Art
Proper canvas cleaning requires different approaches depending on the type of dirt and damage present. Start with gentle dry methods before progressing to wet cleaning techniques when necessary.
Dry Dusting Techniques
Use a clean, dry microfiber cloth or soft-bristled brush to remove surface dust. Work in gentle, sweeping motions from top to bottom.
Essential Tools:
- Microfiber cloth
- Soft-bristled brush (clean paintbrush works well)
- Vacuum with brush attachment
Hold the cloth lightly against the canvas surface. Avoid pressing hard, which can push dirt deeper into the fibers.
For textured canvases, use a clean paintbrush with soft bristles. Move the brush in light, circular motions to lift dust from crevices.
Vacuum Method:
- Set vacuum to lowest suction setting
- Hold brush attachment 1-2 inches from canvas
- Move slowly across the surface
- Never touch the canvas directly with the vacuum
Perform dry dusting weekly to prevent buildup. This prevents the need for more aggressive cleaning methods later.
Spot Cleaning Stains
Address stains immediately to prevent permanent damage. Test any cleaning solution on a hidden corner first.
For Water-Based Stains:
- Blot with clean, dry cloth
- Never rub the stain
- Work from outside edges toward center
For Oil-Based Stains:
- Sprinkle cornstarch on fresh stains
- Let sit for 15 minutes
- Brush off gently with soft brush
Cleaning Solution Recipe:
- 1 cup distilled water
- 1 teaspoon mild dish soap
- Mix gently to avoid excess bubbles
Apply solution with cotton swab for small stains. Use dabbing motions rather than wiping. Rinse with clean, damp cloth to remove soap residue.
Stubborn Stains: Consider professional cleaning for valuable pieces. Some stains may require specialized solvents that can damage canvas if used incorrectly.
Wet Cleaning Guidelines
Wet cleaning should be your last resort after dry methods fail. Always test in an inconspicuous area first.
Preparation Steps:
- Remove canvas from wall
- Lay flat on clean surface
- Gather distilled water and mild soap
- Use lint-free cloths only
Cleaning Process: Dampen cloth with cleaning solution until barely moist. Wring out excess water thoroughly before touching canvas.
Work in small sections, approximately 6-inch squares. Clean with gentle, circular motions using minimal pressure.
Drying Protocol:
- Rinse with clean, damp cloth
- Remove soap residue completely
- Allow to air dry flat
- Avoid direct sunlight or heat sources
Temperature Considerations: Room temperature water works best. Hot water can cause canvas fibers to shrink or warp.
Never soak the canvas or allow water to pool on the surface. Excessive moisture can cause permanent damage to both canvas and paint layers.
Addressing Mold and Mildew
Mold requires immediate attention to prevent spreading and permanent damage. Wear gloves and work in well-ventilated areas.
Safety Precautions:
- Wear protective gloves
- Use face mask
- Ensure adequate ventilation
- Isolate affected artwork
Mild Mold Treatment: Mix equal parts distilled water and white vinegar. Apply with cotton swab to affected areas only.
Let solution sit for 5 minutes before gently dabbing with clean cloth. Rinse thoroughly with distilled water.
Severe Mold Issues: Professional restoration may be necessary for valuable pieces. Extensive mold can require specialized fungicides and techniques.
Prevention Methods:
- Maintain 30-50% humidity levels
- Ensure proper air circulation
- Avoid hanging in bathrooms or basements
- Use dehumidifiers in problem areas
Post-Treatment Care: Allow canvas to dry completely before rehanging. Monitor for mold recurrence over the following weeks.
Preserving Canvas Wall Art During and After Cleaning
Protecting your canvas art from moisture damage and ensuring proper drying prevents warping, mold growth, and paint deterioration. Correct handling and storage techniques maintain the artwork's structural integrity and visual quality.
Preventing Moisture Damage
Never oversaturate cleaning cloths when wiping canvas surfaces. A damp microfiber cloth should feel barely moist to the touch.
Excess water can seep into canvas fibers and cause the material to expand unevenly. This leads to warping, stretching, and potential paint cracking.
Avoid spray cleaners applied directly to the canvas. Instead, spray cleaning solutions onto your cloth first, then wring out excess moisture.
Keep humidity levels in your cleaning area below 50% when possible. High humidity slows drying time and increases mold risk.
Test moisture levels by touching the canvas lightly with clean, dry fingers. If any dampness transfers to your skin, allow more drying time.
Work in sections rather than cleaning the entire piece at once. This prevents moisture from accumulating across large areas of the canvas.
Safe Drying Practices
Position cleaned canvas art in a well-ventilated area away from direct sunlight and heat sources. Air circulation speeds drying without causing damage.
Place the artwork on a flat, stable surface or rehang it immediately after cleaning. Leaning wet canvas against walls can create permanent creases.
Allow 2-4 hours for complete drying before handling or moving the piece. Thicker paint applications may require longer drying periods.
Use fans to improve air circulation, but avoid pointing them directly at the canvas. Indirect airflow prevents dust from settling on the damp surface.
Monitor for condensation on the canvas surface during drying. Wipe away any water droplets immediately with a clean, dry cloth.
Avoid accelerated drying methods like hair dryers or heat lamps, which can cause paint to crack or canvas to shrink unevenly.
Handling and Storage Tips
Wear clean cotton gloves when moving canvas art to prevent oil transfer from your hands. Natural skin oils can attract dust and cause staining over time.
Support the artwork from behind when lifting or carrying. Never grab canvas by its edges or stretcher bars alone.
Store canvas pieces upright in a climate-controlled environment. Laying canvas flat for extended periods can cause sagging and stretching.
| Storage Factor | Recommended Range |
|---|---|
| Temperature | 65-70°F |
| Humidity | 45-55% |
| Light Exposure | Minimal UV |
Cover stored artwork with acid-free tissue paper or cotton sheets. Plastic covers trap moisture and should be avoided.
Inspect stored pieces monthly for signs of pest damage, mold, or structural issues. Early detection prevents costly restoration needs.
Frequently Asked Questions
Proper cleaning techniques focus on gentle methods using microfiber cloths, mild solutions, and avoiding harsh chemicals. Different types of canvas art require specific approaches to prevent damage while maintaining their visual appeal.
What is the safest method for how to remove dust from a canvas wall art piece?
Use a clean, dry microfiber cloth to gently wipe the surface in light, circular motions. Avoid applying pressure that could damage the canvas texture.
Start from the top of the artwork and work your way down systematically. This prevents dust from settling on areas you've already cleaned.
For stubborn dust in textured areas, use a soft-bristled brush designed for art cleaning. Hold the brush at a slight angle and use gentle strokes.
Can you provide guidance on cleaning a canvas print without damaging it?
Begin by removing loose dust with a dry microfiber cloth before any wet cleaning. Test any cleaning solution on a small, inconspicuous corner first.
Use a slightly damp cloth with clean water for light cleaning. Wring out excess moisture to prevent water damage to the canvas material.
Work in small sections and dry immediately with a clean, dry cloth. Allow the artwork to air dry completely before hanging it back up.
What are effective techniques for removing stains from canvas artworks?
Mix a small amount of mild dish soap with warm water for general stains. Apply the solution sparingly with a clean cloth, working from the outside of the stain inward.
For grease stains, sprinkle cornstarch or baking soda on the area and let it sit for several hours before brushing off gently. This absorbs oil without spreading it further.
Mold spots respond well to a diluted rubbing alcohol solution applied with a cotton swab. Rinse the area with clean water and dry thoroughly.
How should one approach cleaning a canvas frame to preserve the art's integrity?
Remove the artwork from the frame when possible to clean each component separately. This prevents cleaning solutions from accidentally touching the canvas.
Clean wooden frames with furniture polish or a damp cloth, depending on the finish. Metal frames can be wiped down with a slightly damp microfiber cloth.
Dry all frame components completely before reassembling. Check that your hands are clean and dry when handling the artwork during reassembly.
What cleaning agents are recommended for maintaining fabric wall art?
Stick to mild, pH-neutral cleaners that won't alter the fabric's color or texture. Avoid bleach, ammonia, or other harsh chemicals that can cause permanent damage.
A mixture of warm water and a few drops of gentle dish soap works for most fabric cleaning needs. White vinegar diluted in water can help remove odors.
Always test cleaning agents on hidden areas first. Use the least amount of moisture possible to prevent water stains or canvas warping.
What steps should be taken to prevent damage when cleaning acrylic paintings on canvas?
Never use water directly on acrylic paintings, as this can cause the paint to soften or run. Use only dry cleaning methods with soft brushes or microfiber cloths.
Avoid touching the painted surface with your fingers, as oils from skin can cause long-term damage. Work in good lighting to see what you're cleaning clearly.
Store acrylic paintings in a cool, dry place away from direct sunlight when not displayed. This reduces the need for frequent cleaning and prevents UV damage.